Posts Tagged ‘MicroView’

h1

Tinkering for dummies

January 24, 2015

I received an email:

I’ve listened to a few podcasts and now am officially a fan. I’m curious about “tinkering” for dummies

I realize that I like to tinker but always run into the reality that my technical skills don’t match up with my creativity.

I am wondering if you would suggest a pathway of least resistance for someone who is interested in tinkering. 

Time is always a constraint but I am serious about learning how to code and also learning about embedded systems but not sure if learning python for example is the best way to start.

This seems like a great question, one I’m sure other people have.

However, I’m a terrible person to answer it because I come at the problem of tinkering from exactly the opposite direction. Since programming is my job, tinkering can be difficult because it feels like work instead of play.

Still, I want to encourage the writer so I’ll try to answer. I invite you to suggest other things in comments.

I think the the very short answer is buy a kit. A kit means you’ll get something that probably works and some instructions. Then you can tweak it to be more along the lines of what you want.

And, in general, I think the path of least resistance is Arduino. Their community and system is set up to teach you things (and to hide the tricky details). It started out as a way for educators and artists to approach technology so they don’t expect you to know a lot of coding. There are many Arduinos (the UNO is my fav) so the next question is what do you want to tinker?

Learning by doing is great but difficult to maintain if you don’t have a direction. Self motivation is much easier if you have a goal, ideally an achievable, amusing, and share-able goal.

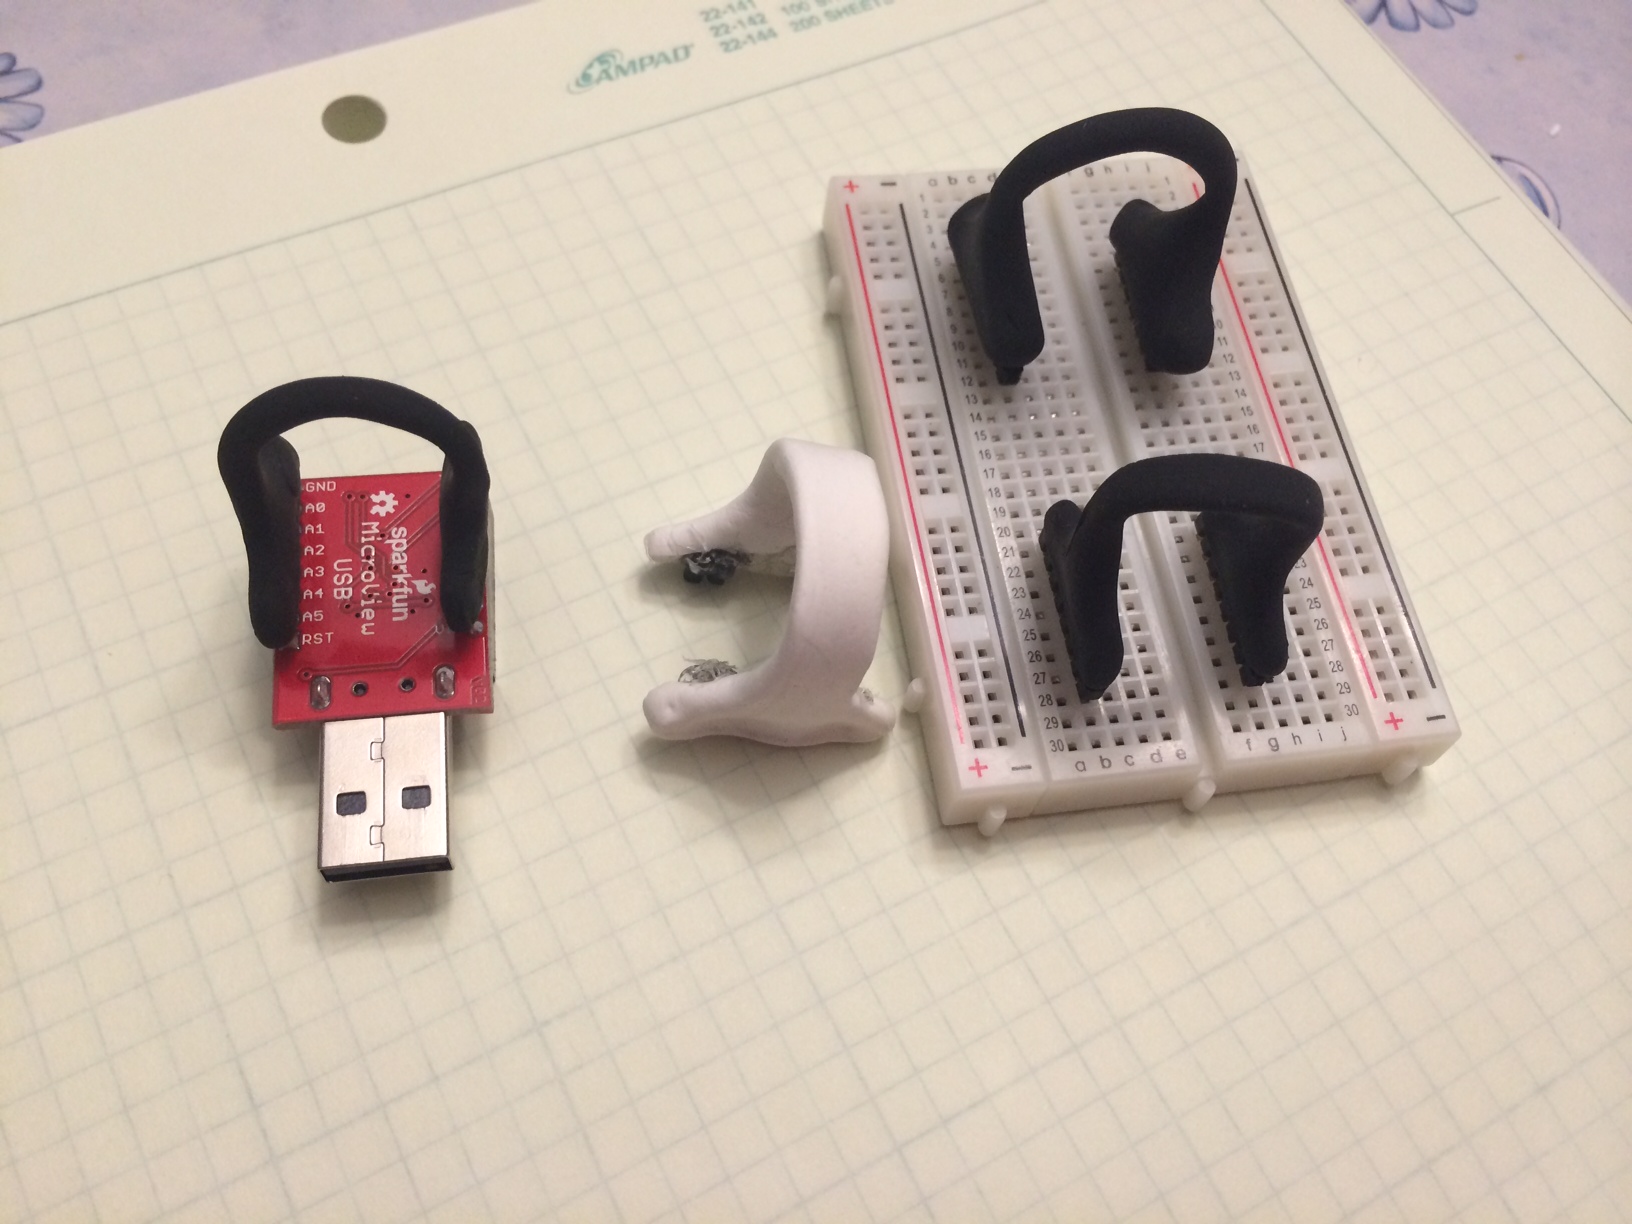
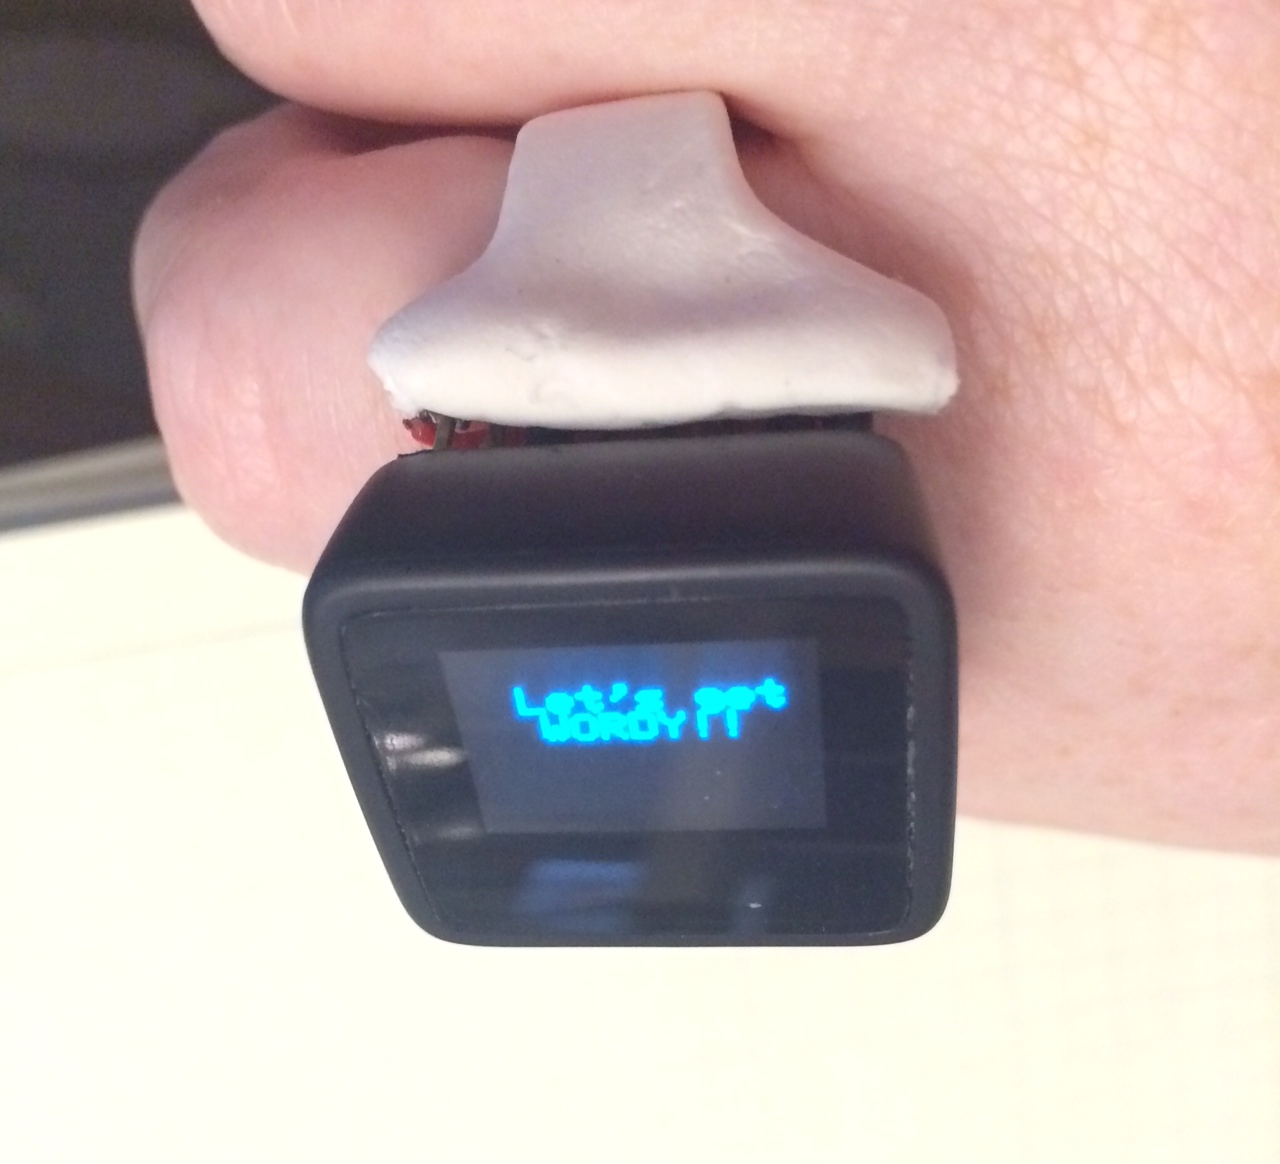
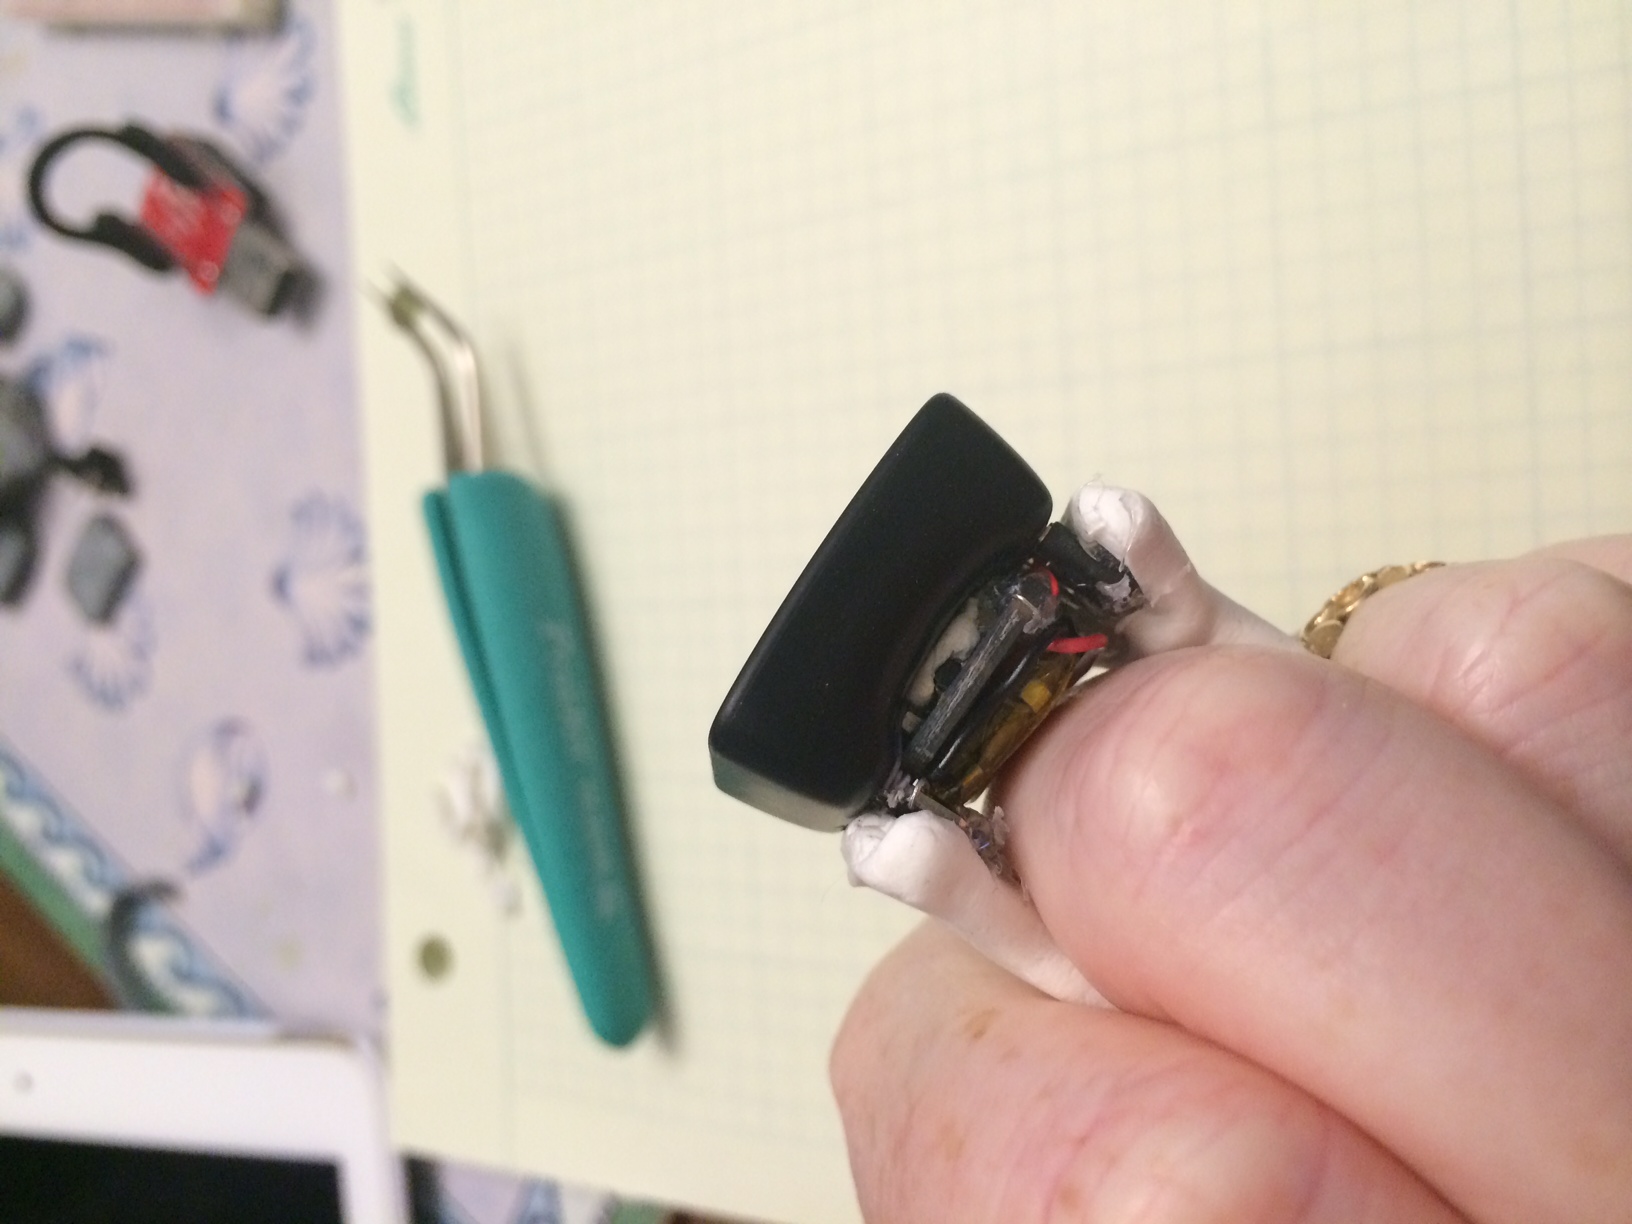
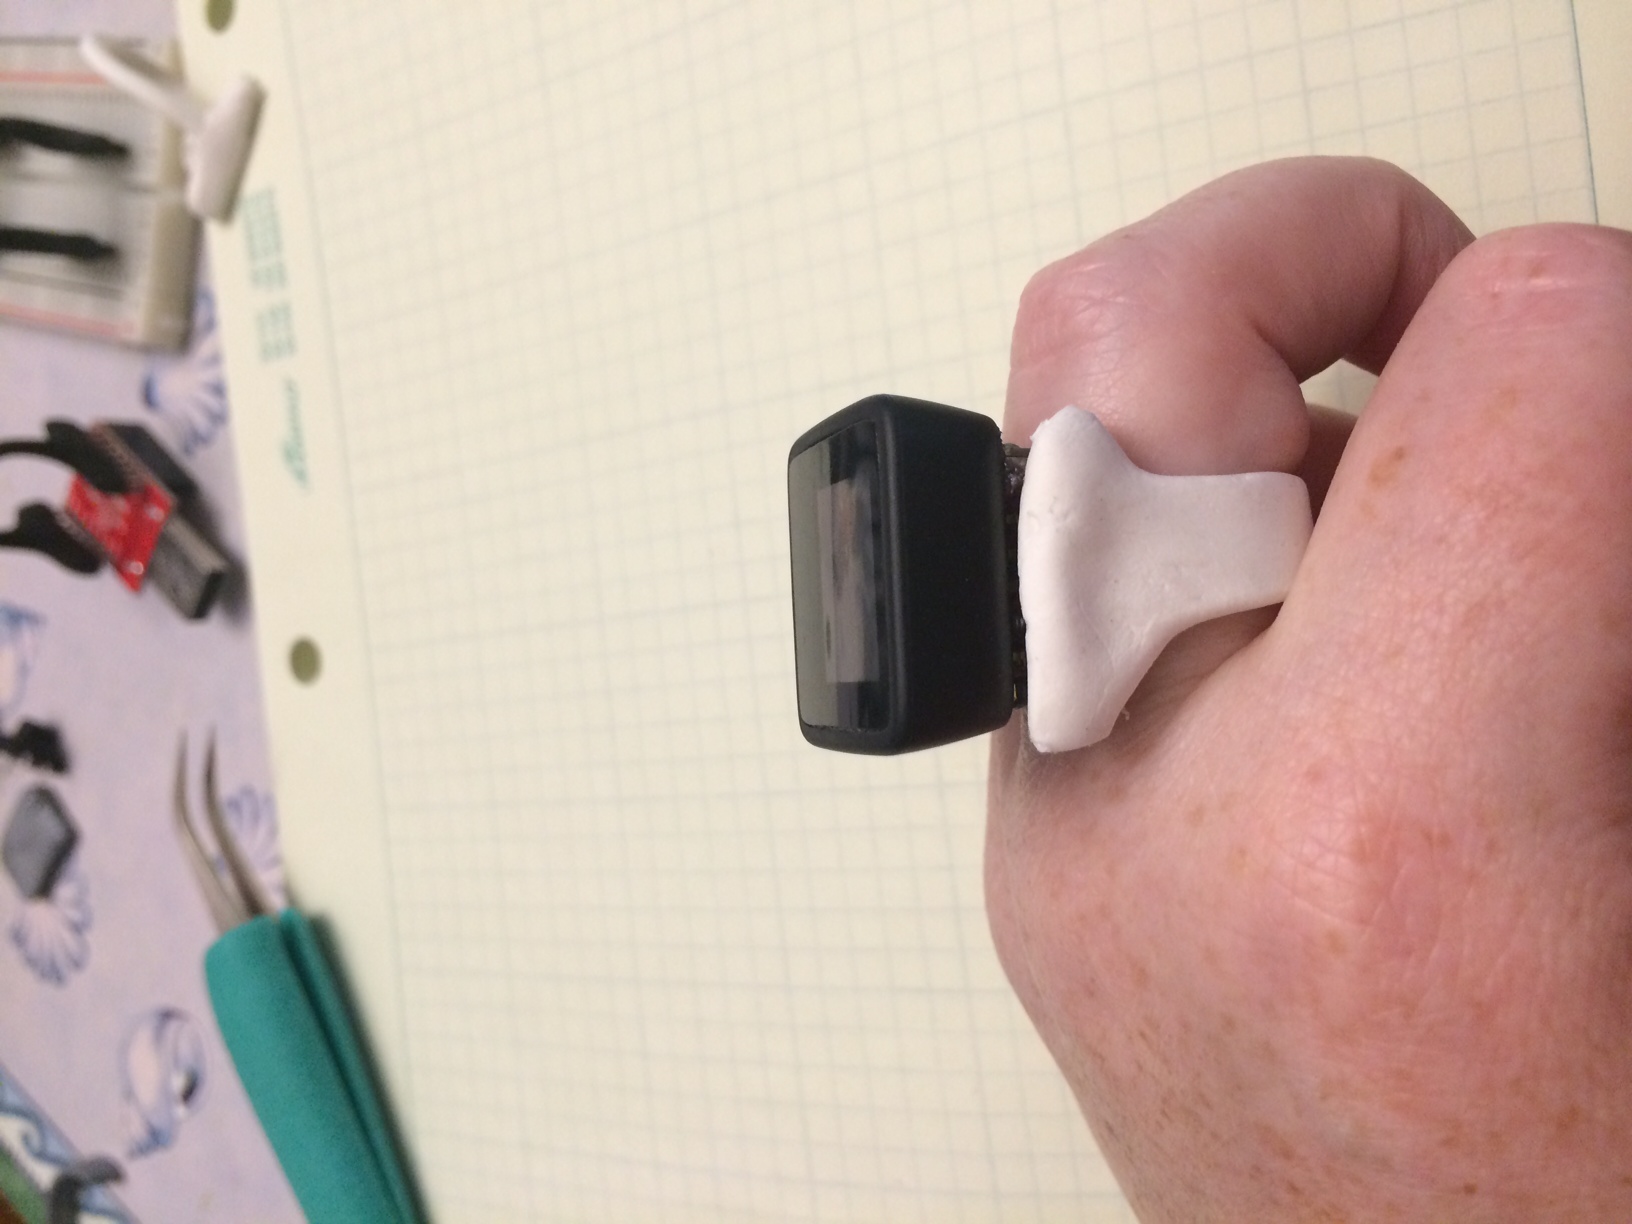
Say you want to make a watch or small desk display, start with the MicroView (and programmer). If you want to go all out (or you really have no idea where to start), get the Sparkfun Inventor’s Kit. With the MicroView, you get more tutorials with hardware in the inventor’s kit. Without the MicroView, you still get a wonderful grouping of sensors and lots of tutorials (and an Arduino board).

On the other hand, robots are awesome and seeing something move is deeply satisfying. The Parallax BOEBot (“Board of Education” Bot) is educational (and fun). It was designed for high schoolers so you’ll likely feel brilliant and idiotic in turns (c’mon, you remember being a sophomore, right?). You can get it from Parallax more cheaply but you have to build more of it yourself. (Also, you may need an Arudino UNO for those kits to add smarts to your robot.)

As you start to tinker, decide what you want to do with your limited time. Building from the ground up is an advanced exercise, often leading to frustration. Toddling, baby steps are more fun.

But what if you want light up shoes (or bike helmet)? Lights are an awesome way to get hooked on tinkering,* there are so many beautiful blinking patterns. For that, you probably want to look into the Flora system (oh! they also have a budget pack). It is designed to be wearable which is pretty neat.

Do you have annoyances in your house? Something that would be better if you could assure yourself from work or phone? Maybe knowing that the garage was down, the stove off, or the door locked? For this, I’d suggest Electric Imp (and you’ll need the breakout board as well). It connects to WiFi well and is straightforward to program. It isn’t quite Arduino easy but there are lots of tutorials.**

Finally, do you want to make a big system? Like a balloon that can take pictures and use a GPS and then connect to your home network? While I like BeagleBone Black for engineering use, I’d suggest starting with a Raspberry Pi. These are both little computers, cheap enough that you can blow one up without feeling too guilty. The Pi is designed to be a learning environment and there are many excellent tutorials. The Beagle has an excellent community as well so it may be a toss up between them. And if you’ve already started to learn Python, well, these are the boards for you. They’ll let you use Python, explore Linux, and get some hardware experience without ever worrying you’ll run out of RAM or processing power. If you get a touchscreen (like this one for BBB), these small computer feel like, well, small computers: infinitely flexible.

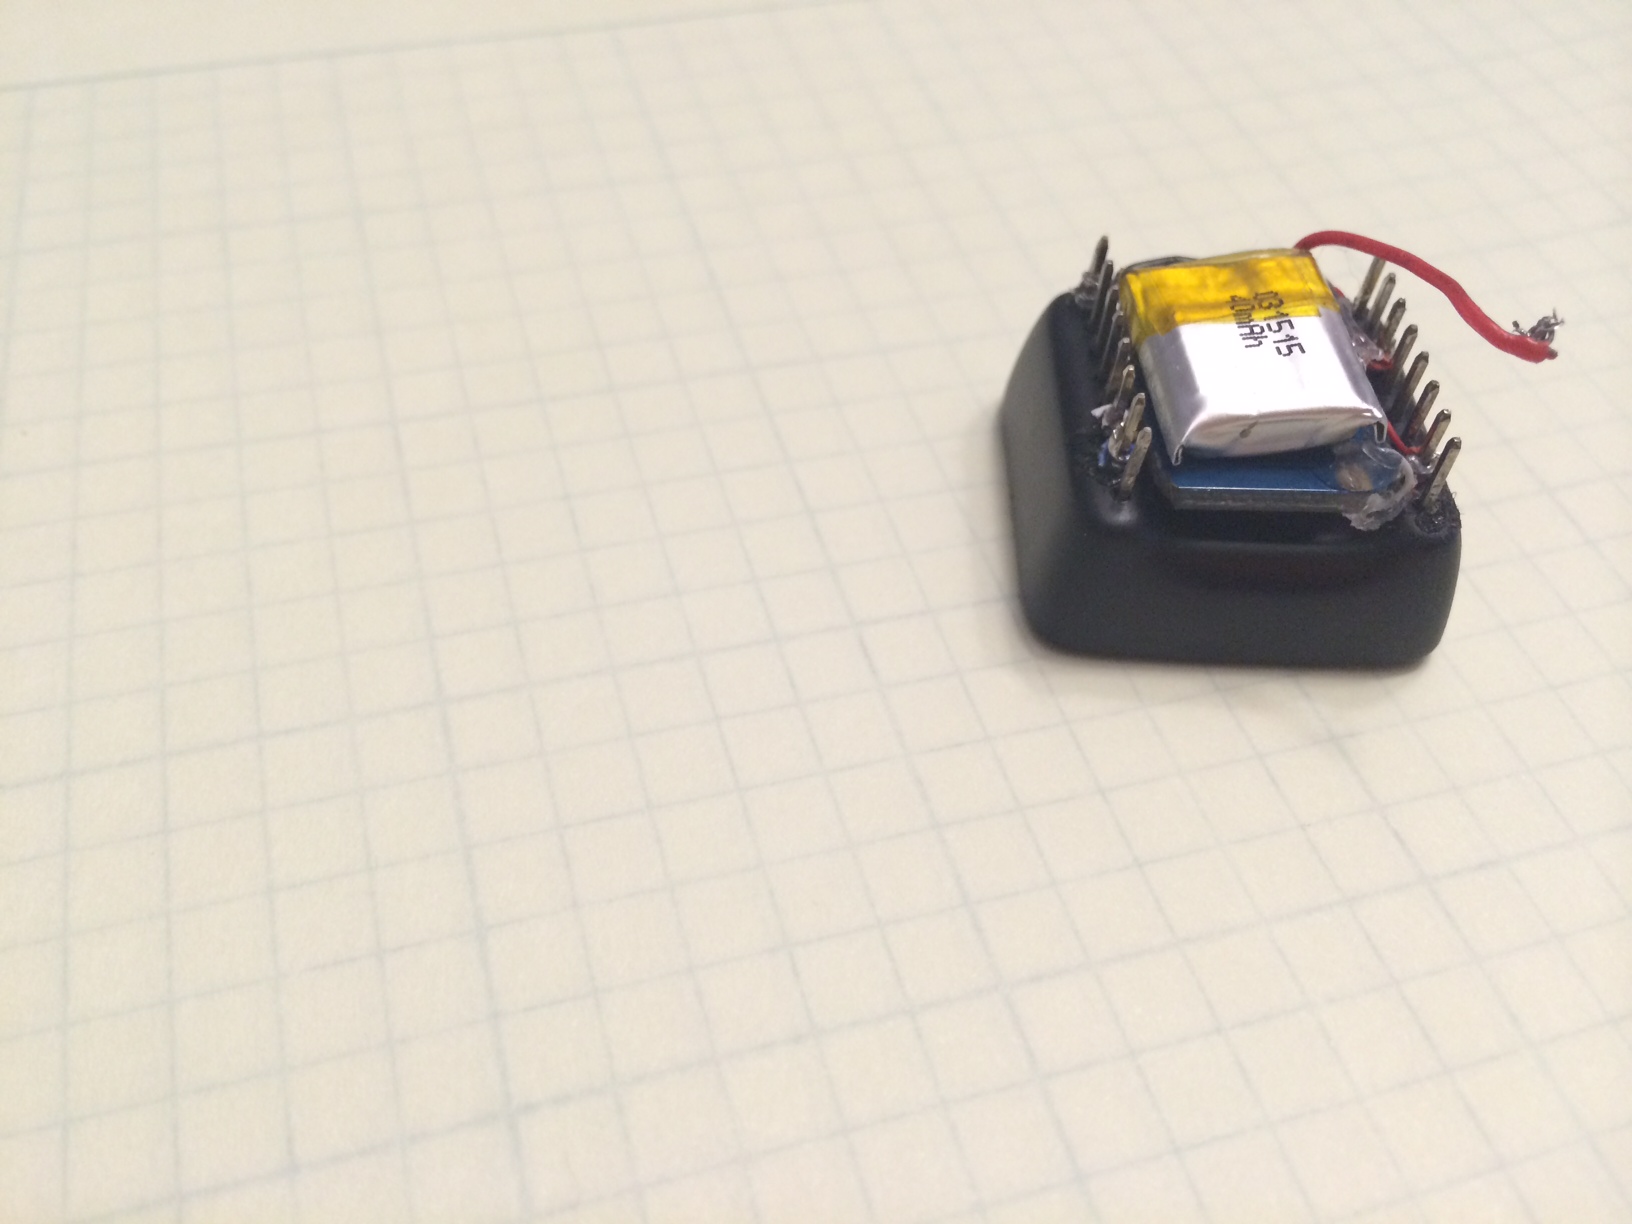
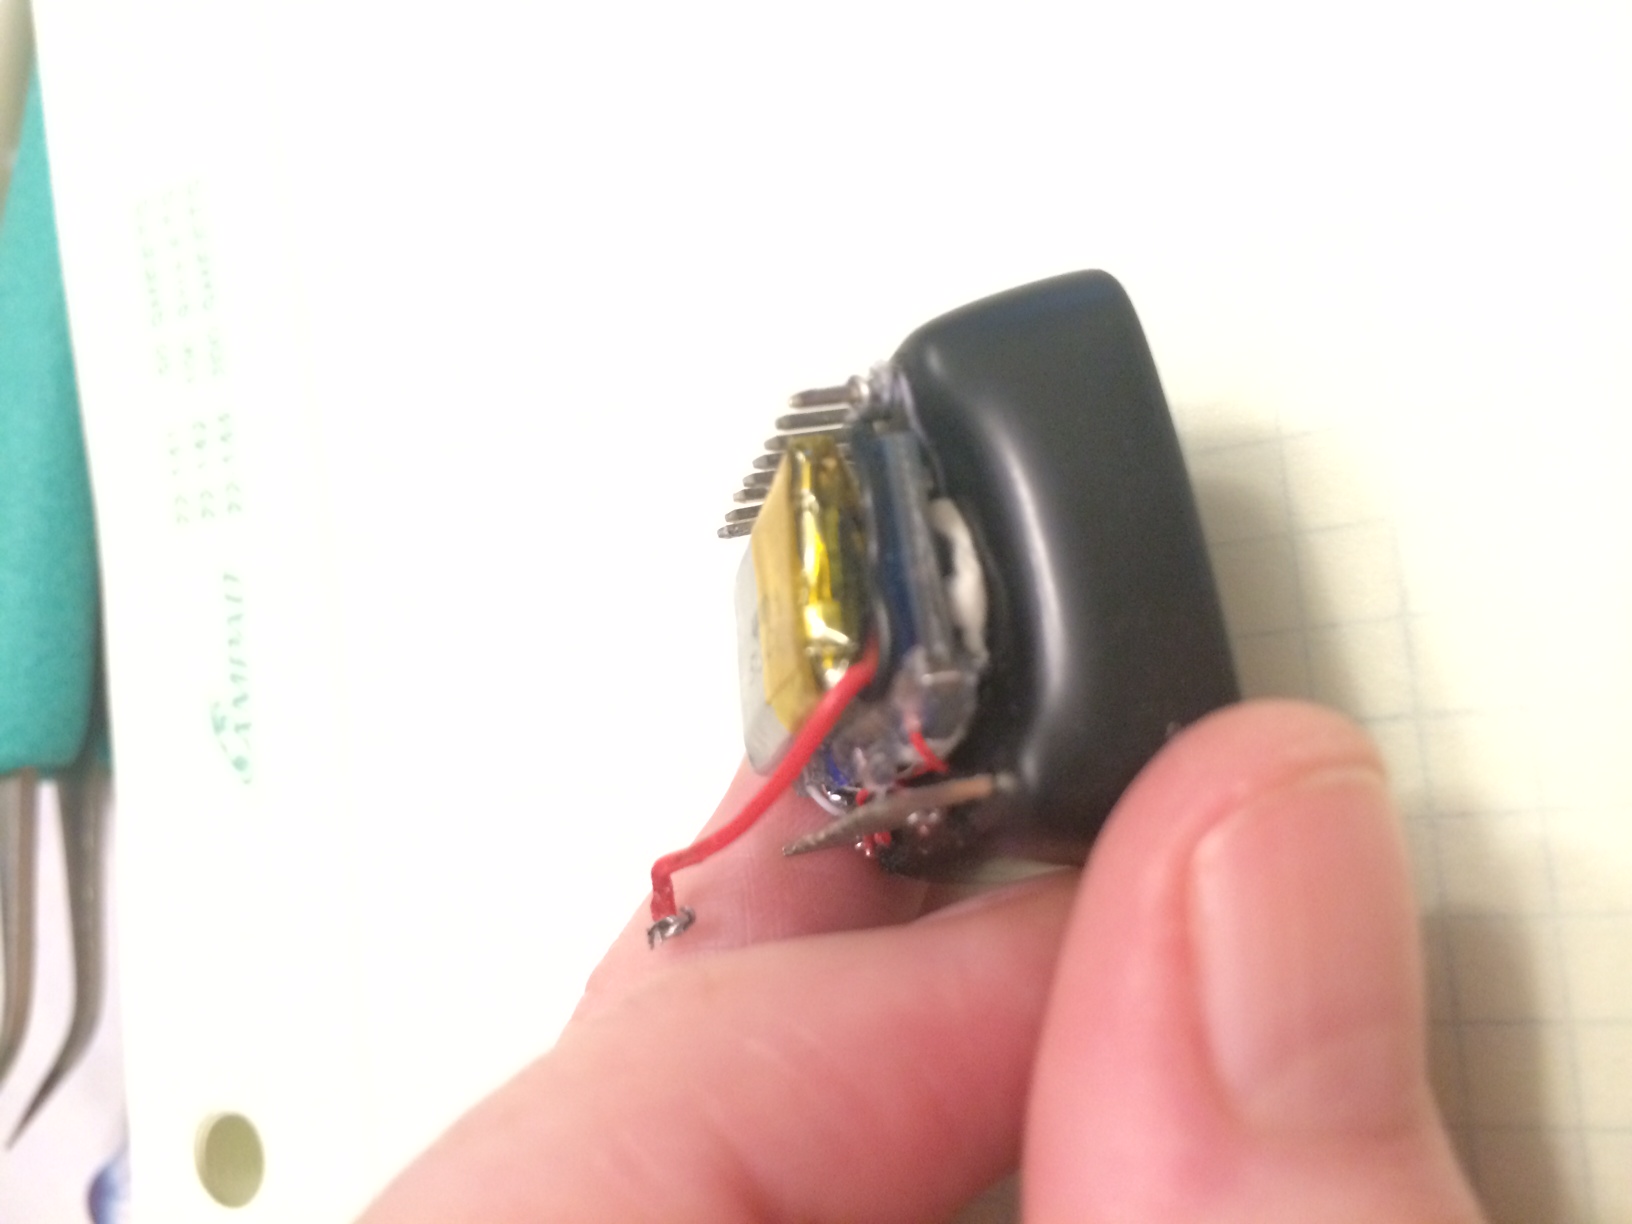
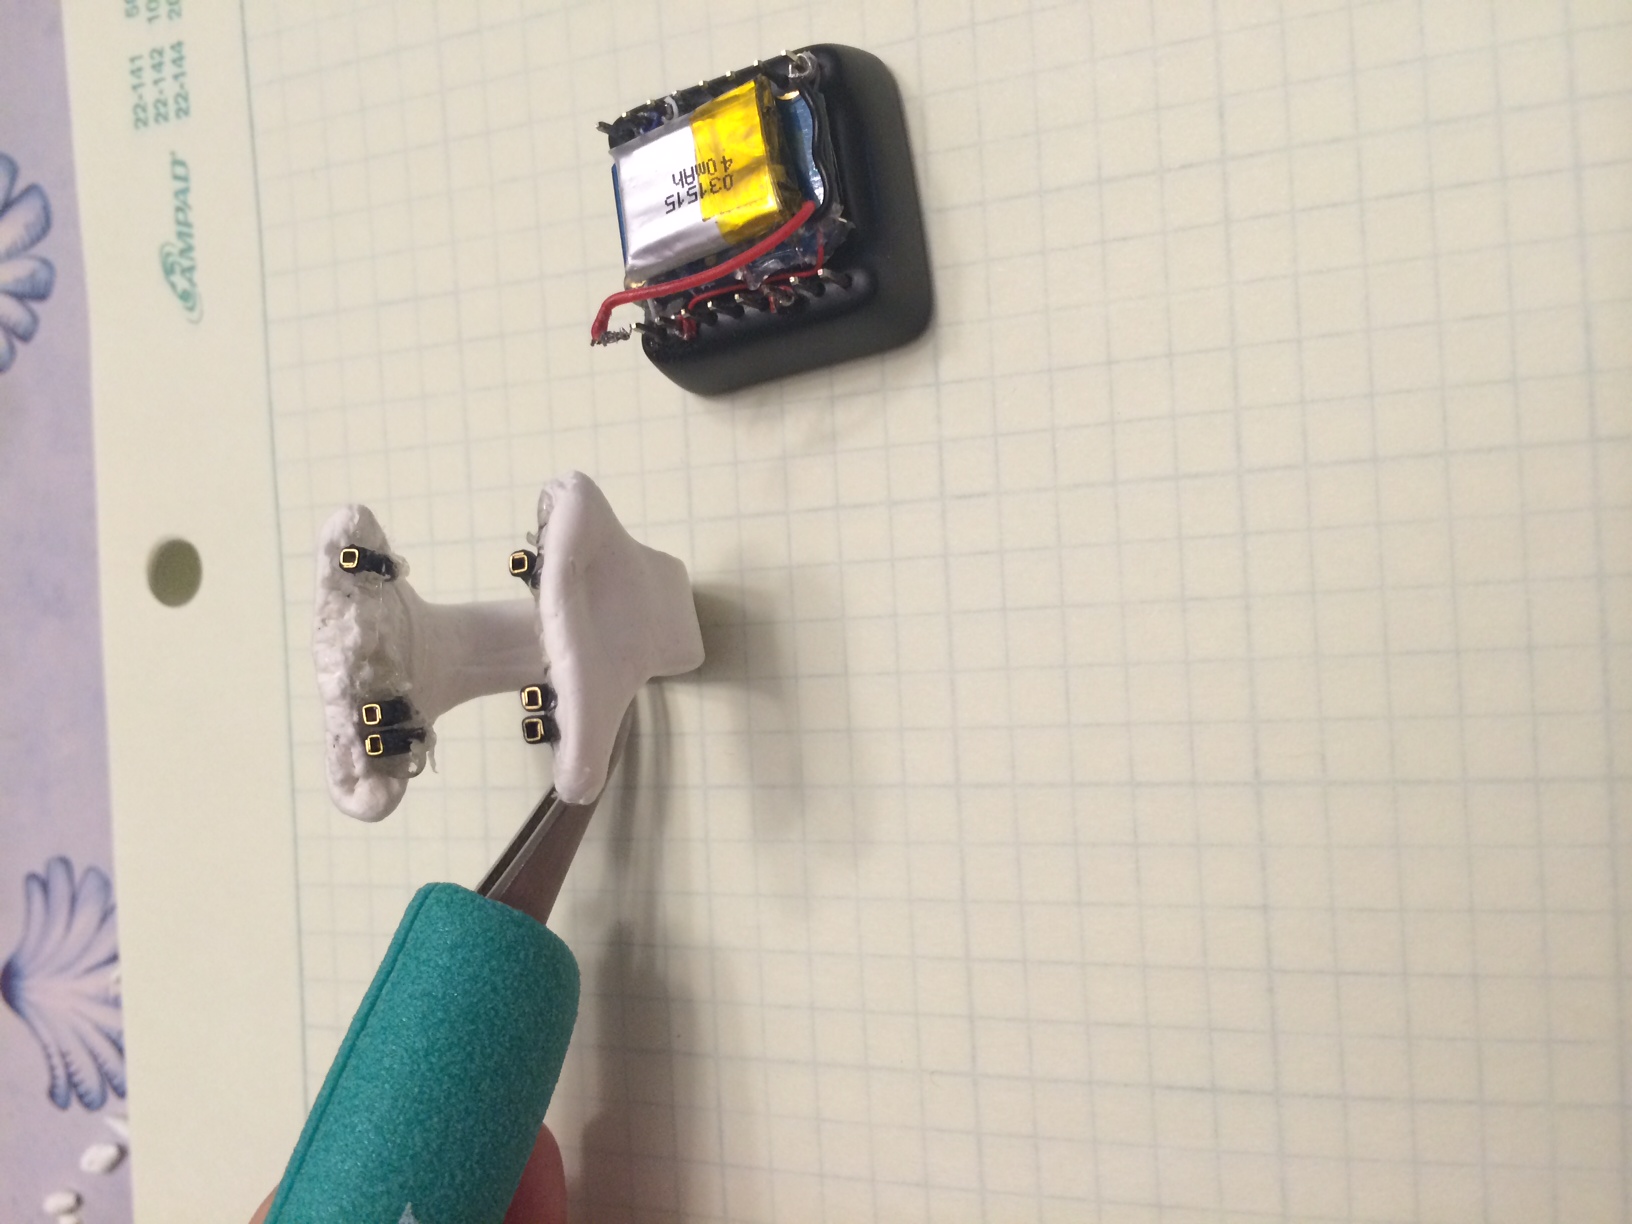
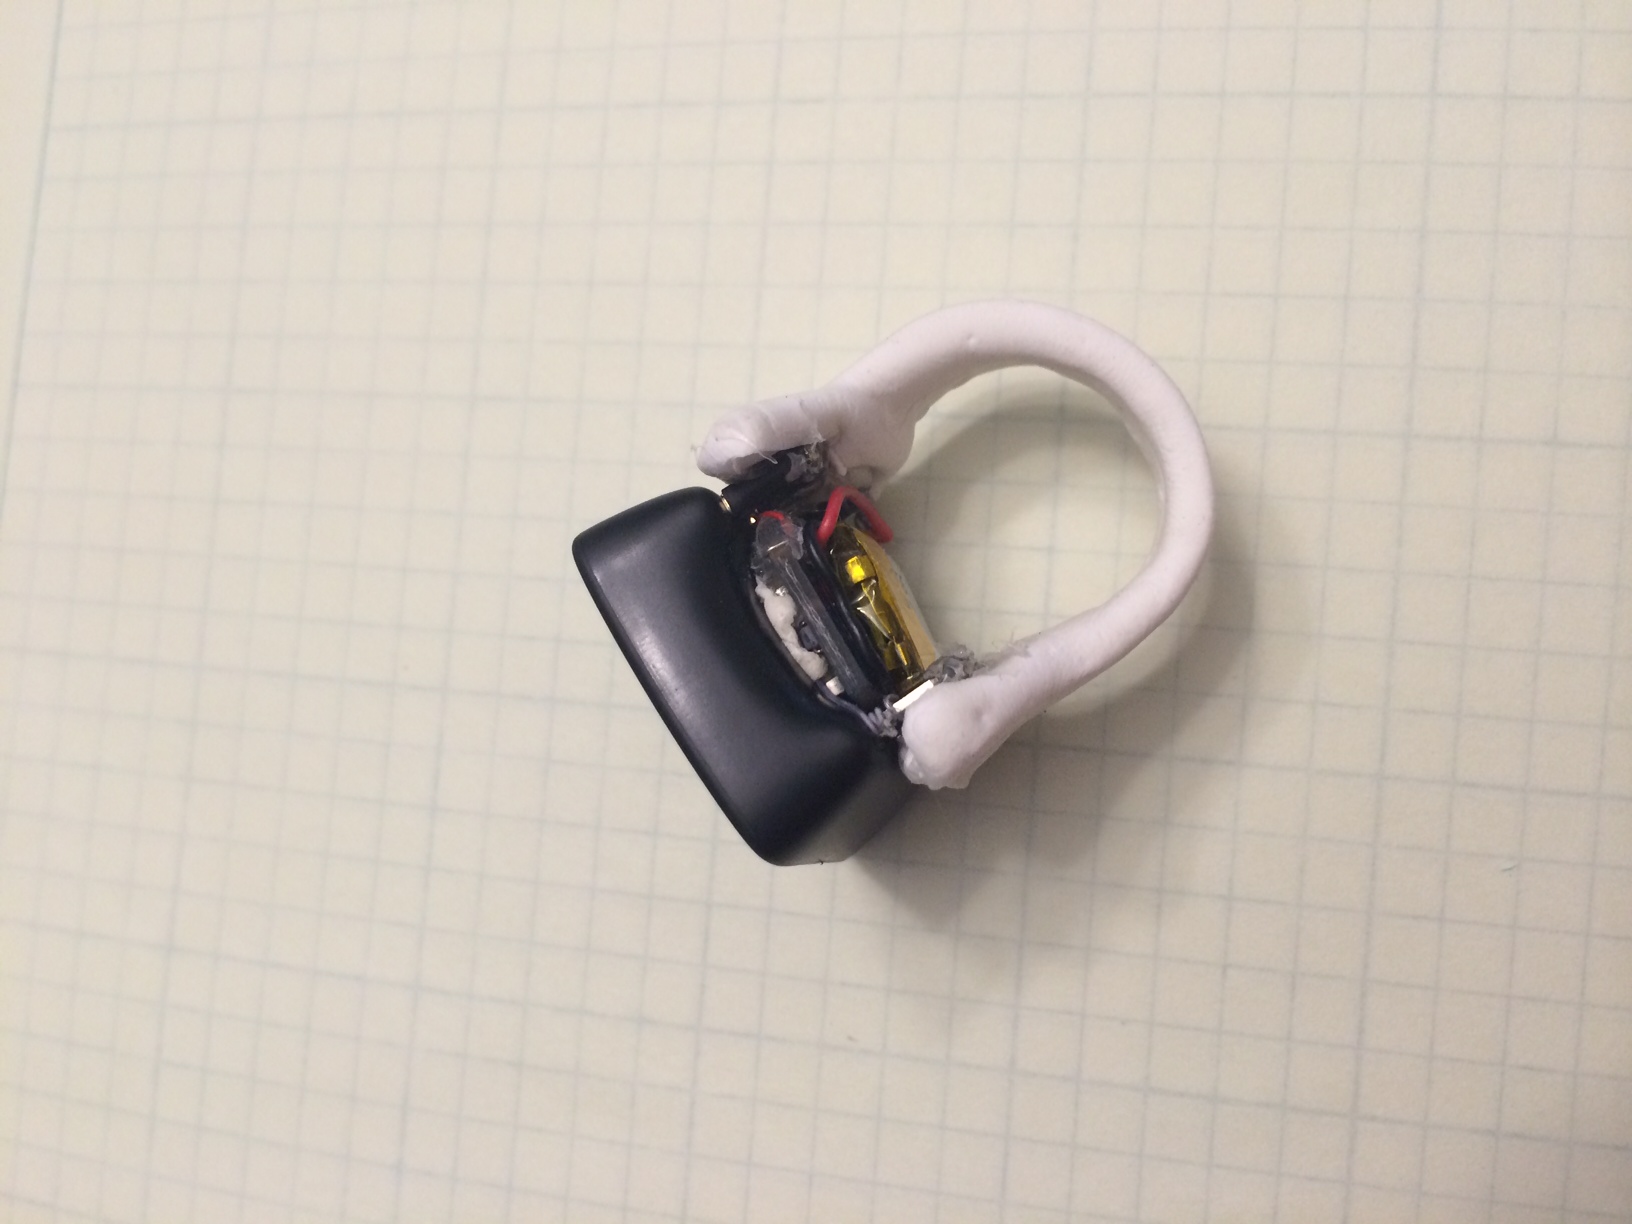
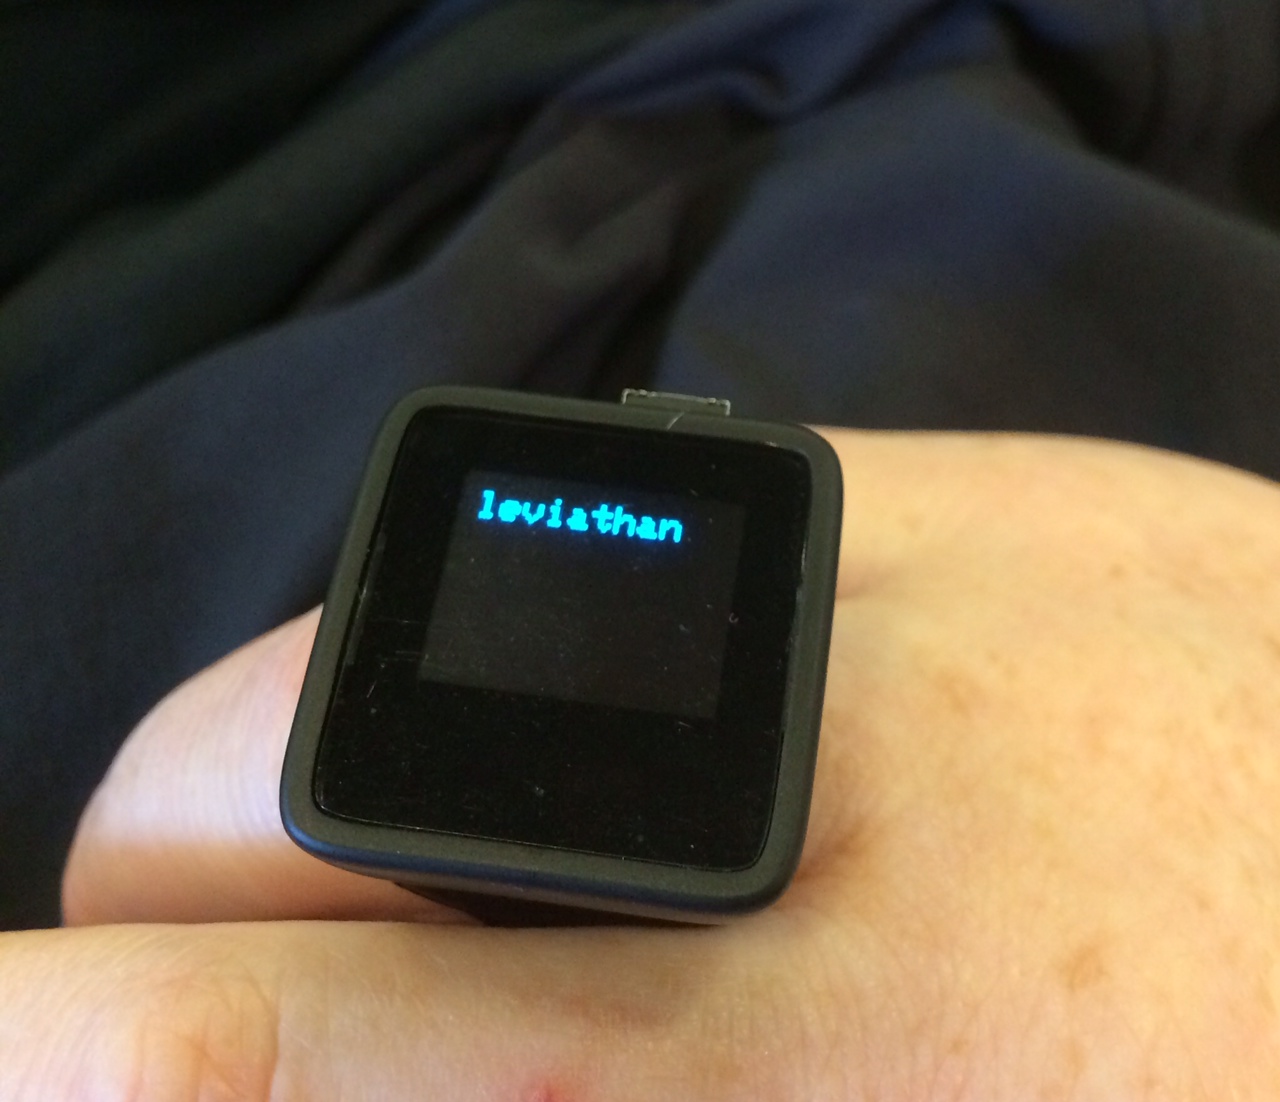
Which brings me to my next point, once you have a direction, look for  a tutorial for something similar. Even if you aren’t building something exactly the same. For example, if you like the look of MicroView and want to try making a watch, even though Wordy is a ring, my tutorial on building it may give you ideas.  Look at the “Learn” sections on Adafruit and Sparkfun for ideas if you don’t have a project in mind. These companies (as you may have noticed from the above links) sell tinkering hardware. They write tutorials to keep you engaged (so then you buy more hardware). You may also find inspiration from Hackaday and Make. You can document your project on Hackaday.io, I’ve been pleased at the niceness of the community there.

Tinkering from scratch without a guide is a like baking cookies without a recipe. If you are experienced, it is completely possible to start with a blank slate. I know from experience and reading cookbooks that cookies should usually have between 1 part butter, 2 parts sugar, and 3 parts flour to 2-3-4 (b-s-f). I can make almost any cookie I can think up. But as you start out, some guidance to success is hugely important. Otherwise you end up with Strawberry-Mint cookies*** and everyone is very disappointed that the lovely promise turned into, um, that.

My final word on getting started tinkering: don’t feel guilty when you stop for a weekend or two. This is for you, it is your hobby. It might be educational but it isn’t required for life. The less guilt you feel, the more likely you are to come back to it when you get interested again.

*  My first tinkering project involved lightup high heels. The second involved halloween pumpkins lights (blue to purple flickering “candles”).

**  Heehee, I wrote that tutorial so total bias there.

*** Yes, that happened, ok? It was an accident with the mint and vanilla bottles looking similar. Quit laughing. Aw, to heck with it.


h1

Giant rings are IN, right?

December 3, 2014

I finished up the working modes of my ring, so rev1 of the software is done. Here’s what it does:

On TAP: shows a vocabulary word. On tap or double tap, shows definition.

On DOUBLE TAP: starts Pong game, paddle position set by tilt of accelerometer.

On UPSIDE DOWN SHAKE: says to consider a question, waits for upside down shake (or punch) to give a response.

On PUNCH: puts up a punch word and a couple rectangles for emphasis.

As long as the wires are secure, this all works pretty well. I still need to format some of the Magic 8 ball style responses. And I could go through the vocabulary words to make shorter (better) definitions. I can probably pick up about 50 words too (yay!). I may continue to get rid of nonsensical floating point stuff so I can put more definitions in. Oh, and I should check the power usage, I didn’t minimize the accelerometer’s draw.

However, those tweaks can all wait as I need to make it wearable again. The button version was wearable but the ring blanks from that are a little too small for the accelerometer+battery stack up.

microView with accelerometer and battery

From another angle

MicroView, accelerometer and battery


On the back of the MicroView is a dab of funtac (that stretchy sticky stuff you might have used to hang posters in your dorm room), a modified Adafruit 5V tolerant MMA8451 board (ahem, they didn’t need all that space for logos and mounting holes). Tiny wires are soldered to the board, then hot glued. On the other side, they are soldered to the MicroView.

On top of the accelerometer is a SparkFun 40mAh LiPo battery with its connector snipped. It is held on to the accelerometer with funtac (sometimes I build things entirely from funtac). I needed the battery on the outside so I can remove it for charging. The

This all stacks up higher than I wanted and doesn’t leave much space for attaching the ring to the device. With the button+battery version of the ring, I pressed the MicroView pins into the ring blank and press fit it all together. That doesn’t work so well now, especially as the poorly pressed fit doesn’t hold the power on.

Add connectors


I snipped some jumper wire so I could build a connector on the inside of the ring blank. This was just a trial run. It worked out ok but I think I want to do something a little different for the real ones, maybe destroy 8 wires to get 16 connectors. Having attachments only on the pins of interest has some downsides (especially if I don’t line them up properly). More connector ends also lets me add some needed rigidity. Even these few fix the press fit problem. The female connectors are all too bulky though I may look around some more.

Ring on


It doesn’t look too bad. Though I think the new black version are going to be better (still waiting for those to dry).

photo 4

Well, let’s see it on!

OnThe 5s timeout on the screen makes it impossible to get an in-focus shot by myself.  Ahh well, you get the idea. This angle is probably the nicest. From the side where you can see the stackup, not so nice. (Realistically, it wouldn’t be hard to cover this.)

head on

But I can’t leave it on that shot, one more, a little prettier.

Sideview

h1

Stuff I need

December 2, 2014

I know, I write this blog so people can read it. But then I hope only my husband reads it. Which he does but usually only after I’ve told him about whatever I wrote.

Anyway, I find myself going to the same pages a lot. I figure I can reduce my tabs by putting a few links here:

Yeah, I’m still working on my little ring. With a tap, it gives a word. Another tap, the definition. With a double tap, it starts pong (you tilt your hand to move the paddle). Another double tap (or win/lose), pong ends.

Today I hope to use the motion thresholds on the MMA8451 to detect when you turn your hand upside-down and shake (ahem, ask me a question!). I’ve already got the answer strings in there and I’m using 27166 bytes, out of 32k. Though I’m down to 100 words (instead of the 200 I started with).

Better get to work now that I can close some of these tabs.

h1

Air Punches!

November 26, 2014

My accelerometer FINALLY arrived (hint: don’t pay for expedited shipping until you know when their ship cutoff time is). It does not work. I am quite cranky about that.

This gets me to thinking about that fourth possible mode (three others flowcharted in previous post, flowchart is a verb, right?). I am pretty certain I can set thresholds to get an interrupt on a sudden motion, such as the very end of a punch (even an air punch). So… the ring is going to say “KER POW”, “BIFF”, and “THWACK” when that happen.

This amuses me very much. I thought it might amuse you. I plan to make it little screens with edges, Batman style, not just words. I suppose I have time to do that artwork and put it in the code. Since my accelerometer is DOA. Hmph!


h1

Planning ahead

November 24, 2014

The Adafruit accelerometer did not arrive in time for my birthday and I really wanted to wear my ring to my party. I went to RadioShack and got a small momentary pushbutton. I charged my 50mAh battery, clipped the leads and used tweezers to coil the stripped wires around power and ground. A few more tiny wires and it was working.

I wore my ring several times over the weekend. It was pretty functional and didn’t need charging (yay for sleep mode!). The wires were a little fiddly so if I took the ring on and off or handed it around, sometimes it would reset and be flaky but pushing the ring blank back on usually fixed it.

As I was passing it around or fixing it or just playing with it, someone asked if it could do Magic 8 Ball instead of vocabulary and down the rabbit hole I fell.

With a button, well, it can only do one thing. But the accelerometer identifies (interrupts on) taps, double taps, and portrait/landscape changes. It can also do thresholds so I suppose it would recognize punches as well (air punches! real ones would definitely break the wiring!).

Right now, I have 200 words, some of the definitions are poorly formatted, there are only 60-ish characters allowed so if the definition is longer it gets cut off. I tried to prevent that but the cutoff is probably 62 instead of the 66 I used so a few definitions are missing the last bit. However, with the 130 GRE vocabulary words and the 70 strange wordnik words, it is a fairly amusing mix.

MicroView ring


For some reason, though, the ring really likes the word ‘turpitude’ (which means depravity or wickedness). The randomness is working well except for that word coming up more often than I’d expect. I’m trying not to read anything into it.

Anyway, I still have about 5k of flash space. Magic 8 ball responses will be easy, they are small. It can do a portrait/landscape interrupt as I turn my wrist around so I’ll put up “Think of a question!” and then another turn back and forth (P/L interrupt) will get the random yes/no/maybe response. Though really, a tap or double tap might as well get the response.

But, what should it do with a double tap? (I just thought up a punch so I’m going let that percolate a bit.) My husband asked if the ring could play pong, using the angle of the ring to move the paddle I thought about that and found that someone has already done that work for me (video!). I only need to replace their pot with tilt sensing.

After getting a little frustrated with trying to make the state machine work from inspection, I decided to stop doing that thing where I don’t apply professionalism to my personal projects. Thus, I made a flowchart to decide how it will work.

flowchart

I need UPS to arrive with the accelerometer so I can test the implementation of this mini-beast. In the meantime, I probably should make a few more ring blanks, these are all probably a bit small to work with the accelerometer and the battery.