
Have you met my friend Maxwell?
May 11, 2014I love the manatee. But I’m about to get busy and I want to finish the tutorial before things come crashing down. And Elizabeth has been busy so… in the interest of taking away self-imposed obstacles, I moved forward on the are-you-ok plushie version. Don’t fear, the manatee (or maybe it will be a narwhal) will be back! Just not today.
Friday, I went to Target, looked around in their toy aisle for a suitable stuffed animal to disassemble. Then in their dog toy aisle. I figured the dog toys will have squeakers and my electronics can fit in that area (since, of course, I’d remove the squeaker). I came home with two items.

The octopus is a dog toy. The dog is a human toy. I’m sure this makes sense.
 Is it mean to make the other one watch?
The next step was to remove the stuffing, remove the backing from the eyes so light can shine through, then affix the LED and accelerometer.

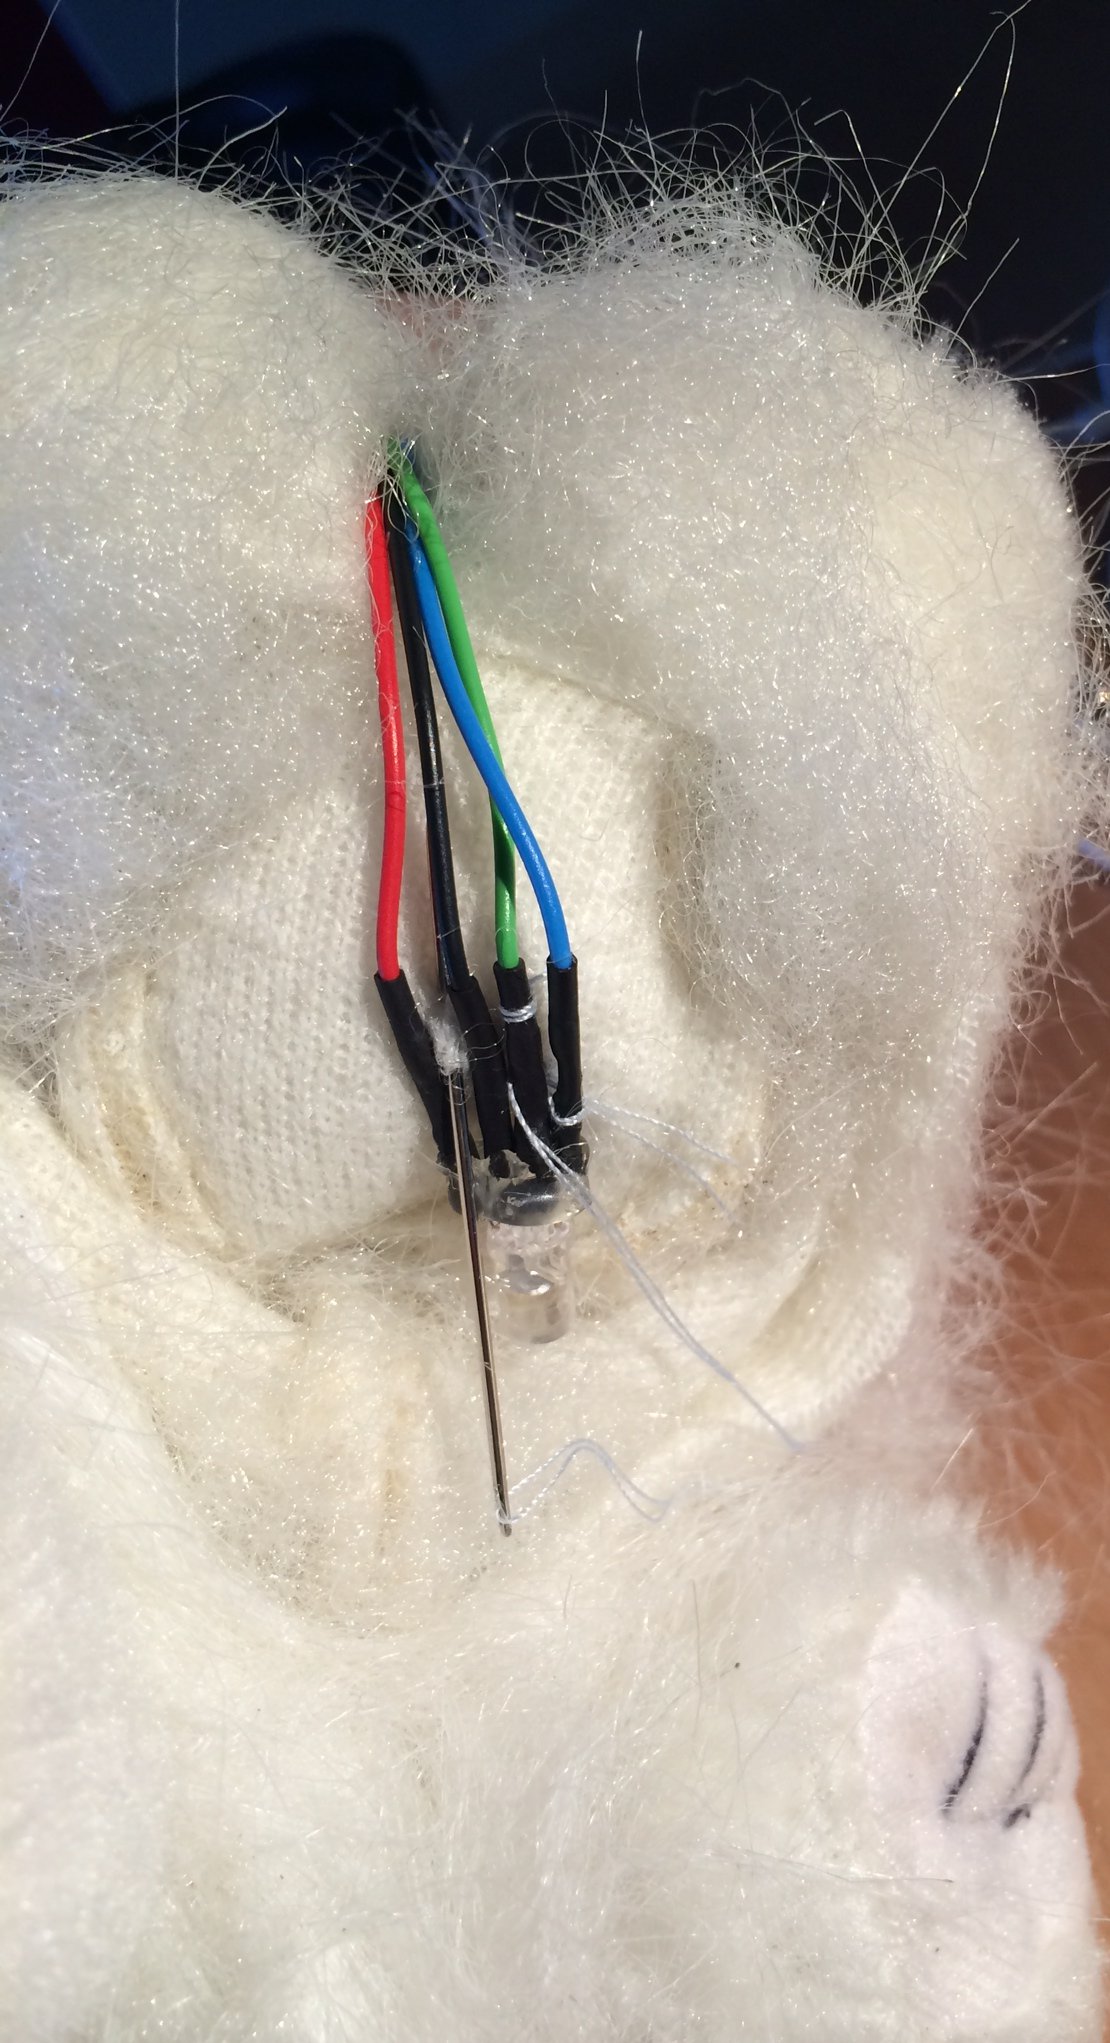
I’m a little worried about my LED. Either I haven’t been consistent wiring up blue and green or they randomly change on a per-LED basis. (Ok, I am using two varieties of LED so it may be that.) That is wired according to the datasheet. But then when I wire the board, I end up needing to swap the blue and green. Sometimes.
Anyway… that is just to show the wires. The next step is to clip each one (leaving the others with their colors so as not to get confuse). The goal is to clip as short as possible but no shorter. So aim for three snips per since too-short is bad but too long isn’t.

Then hotglue it all together. (CUE: Foreshadowing music.)

I attached the LED with fishing line, trying to keep it centered on the face but a little free floating.
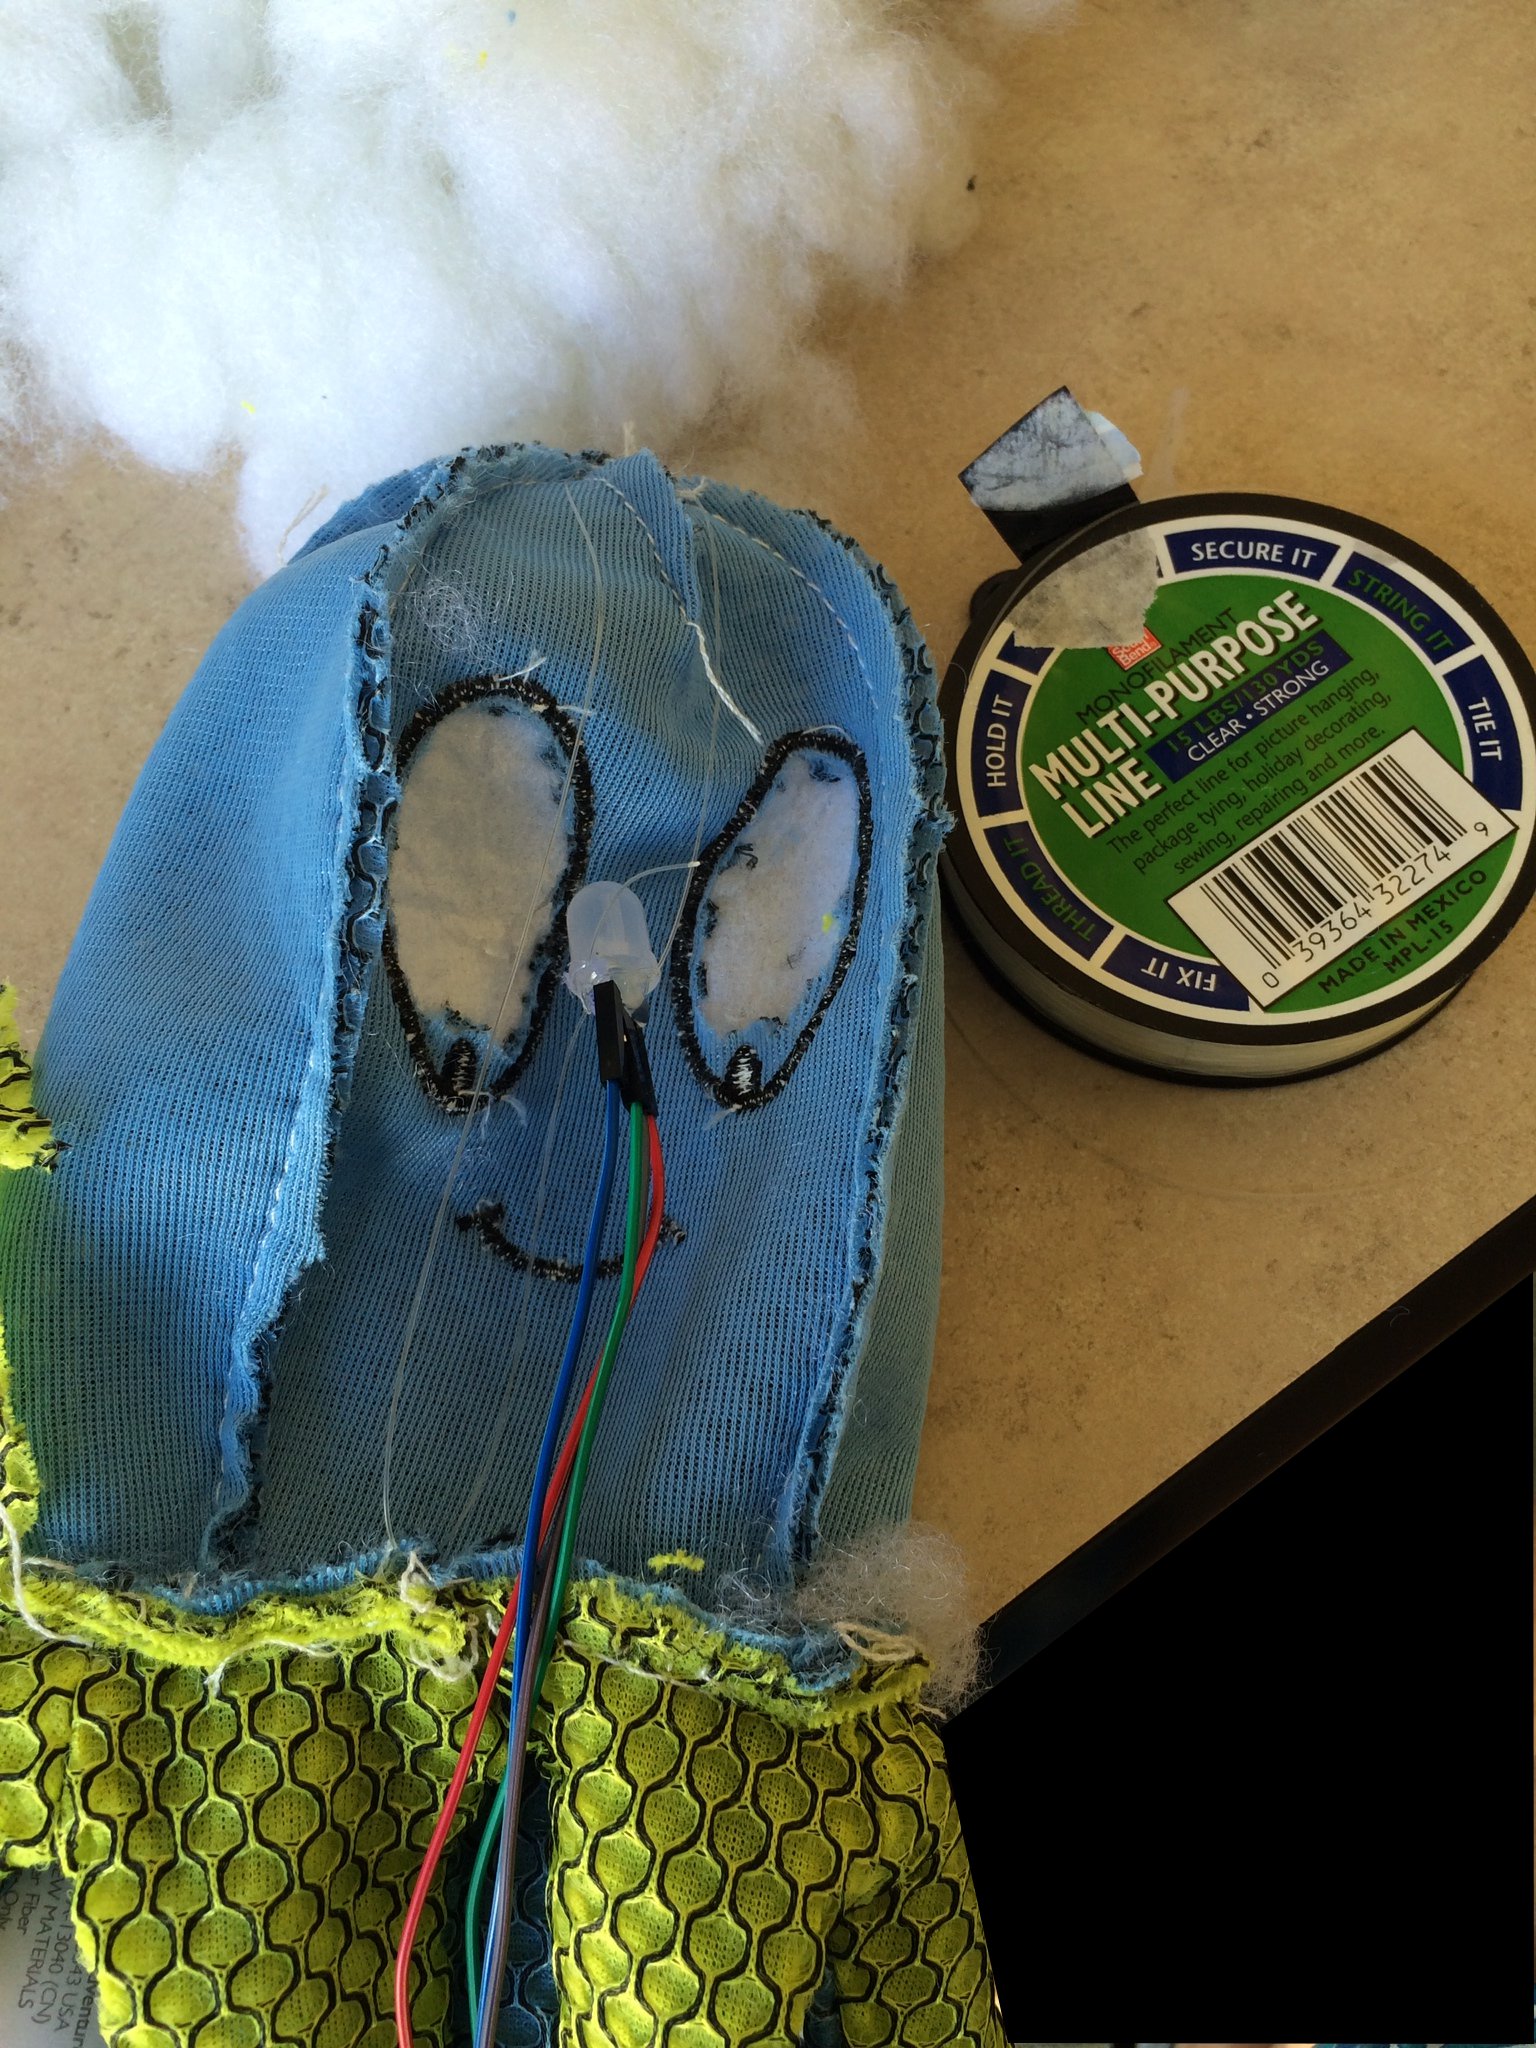
The fishing line is coiled around the LED, maybe a dot of hotglue, then tied at the head, and threaded through at the bottom. With some force, the LED can be shifted up and down but it stays where I leave it. I want the LED to stay where I put it but also float in the stuffing.

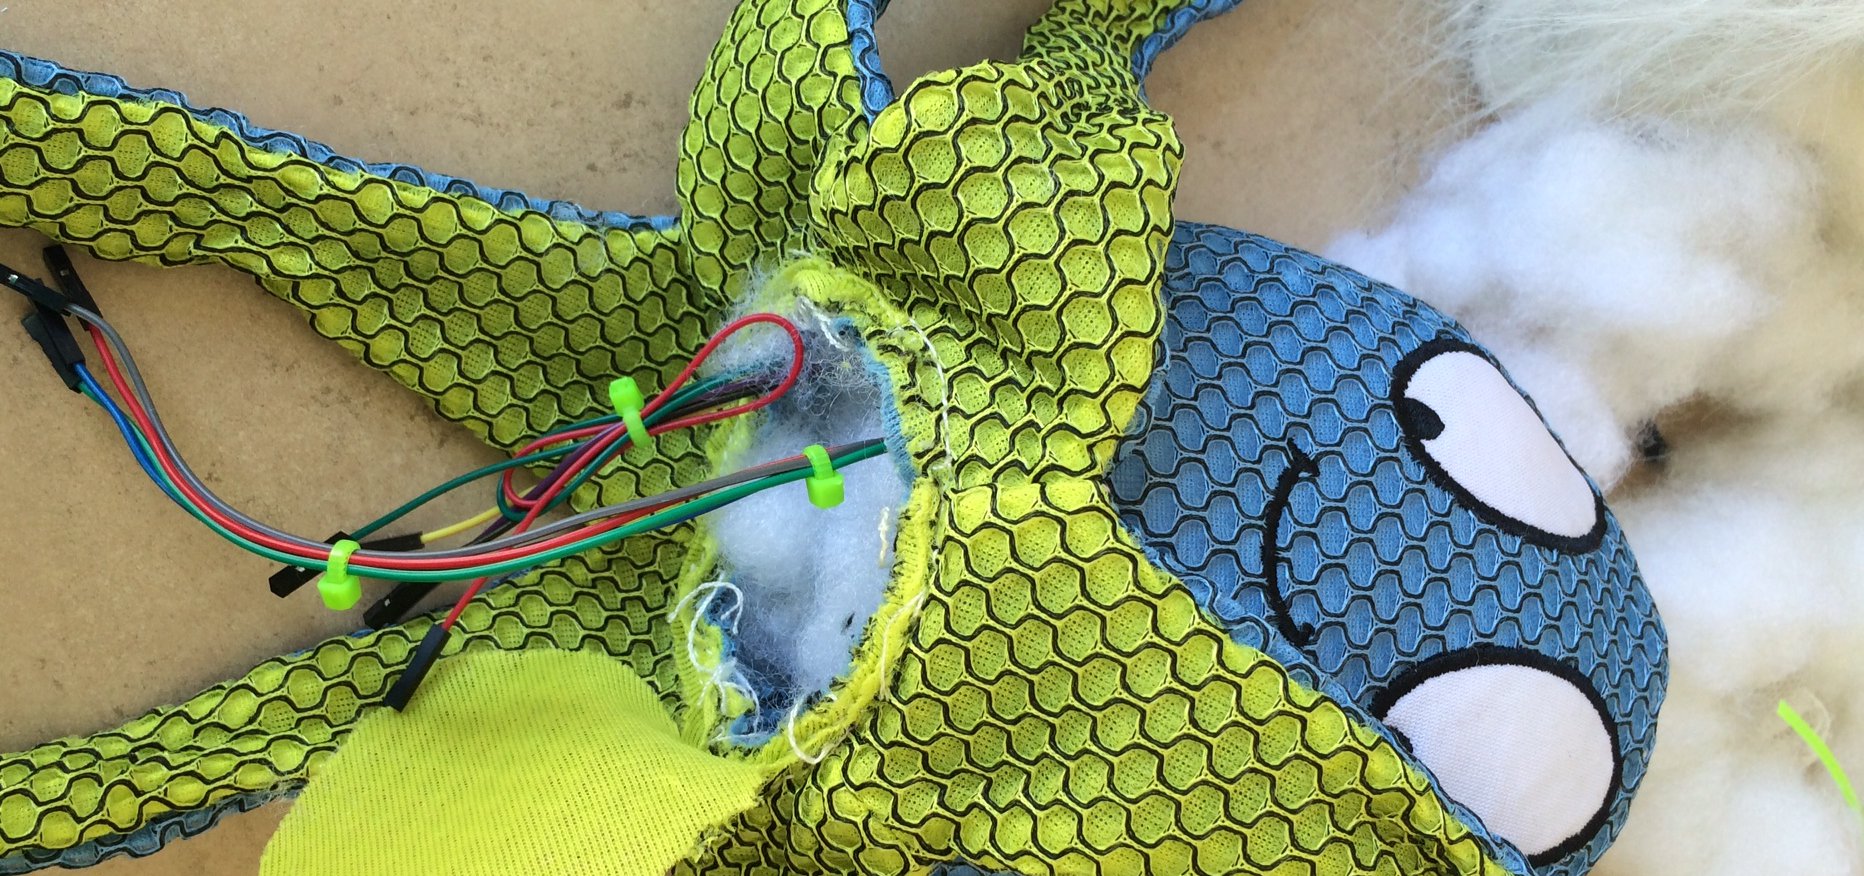
Next goal: when you pat the head of the octopus and the accel fires. Happily, the accel has two mounting holes. I used those and more fishing wire through the seams of the head. I also, characteristically, hotglued the metal bits and the cables on to the connector. Think of hotglue as the pauper’s potting substance.
Intelligent people would test all the electronics at this point. You know, before adding stuffing. But, of course, do as I say, not as a I do.
Some stuffing, in the same role as screws in other projects, is expected to be leftover. They overdesign these things anyway.
Now, add batteries! I need to have a way for the user (the elderly neighbor) to change the batteries. And I need to have a way for the caregiver to do the annoying-as-all-getup BlinkUp to send the WiFi SSID and password to the Imp card. And yet we also need to have it all look nice and stay in place.

My only advice is to try it out a few times before making any decisions. There were many ways for it not to work and only one or two that it was possible. Double backed tape (the slightly foam-like stuff) is very useful, for those spots where hotglue isn’t.

Finish the wiring, add hotglue, stick to the double back tape. Stand on battery box on end to show off hotglue, not realizing the sense of vertigo that might lead to.
Really, you have to test him before buttoning him up. Really, really.

Now, add some velcro to the battery compartment. Then to the flap of fabric on the bottom.

Shove it all into the plush body. Nicely of course. Possibly adding a bit more of that stuffing so there aren’t any lumps due to the electronics.
Put him somewhere that you walk by often. Pat him. Mine is a little slow to light but it is such a happy light that it is worth the wait.

Ok.
Now, this all looks pretty good, if I do say so myself.
But you maybe are thinking “well, these are instructions from an expert” but here’s the thing: This is the first time I’ve ever modified a plushie to take electronics.
Sure, I worked at Leapfrog, but they had real fabricators (they had the first 3d printer I ever heard of!). So. If you are thinking this is too hard, go out and buy a $5 dog toy and try it. I was pretty shocked at how not-hard it was.
Or you can do a $4 person toy.
You didn’t think the dog was going to escape unmodified, did you?
This is plain thread, sewing the LED into the inner lining of the plush body (don’t want to see the stitches on the outside). I decided the doggie’s heart should light up. And I’m going to have to use 3 AAs or 4 AAAs to fit into the diminutive body, so it will need its batteries changed more ofent.
Of course, I just put my last accel (and Imp) into Maxwell so it will be a little bit before the fuzzie dog gets the rest of its gear. I should go push the buy button on Sparkfun. I am excited about the high potential for cuteness from the fuzzmonster.
Even without the hardware, now I can continue the tutorial. (Or go outside and play before the heatwave next week.)